Here are the panels I made. They are all approx 4" x 5.5"

Card 1.

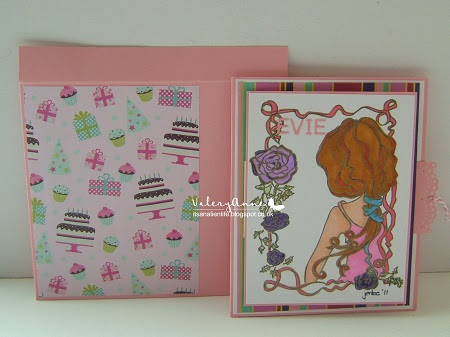
Card 2.
This card was a happy accident as having cut the oval out of the previous card without particularly noticing I had placed it down onto the next card front to use and it just happened to be precisely the right colours. I hastily die cut a smaller oval using a scrap of white cardstock and stamped a sentiment by Julie Hickey. The small flower was from the freebie stamp set already mentioned above which I coloured with a matching promarker pen. Attached the whole panel to a white card base to finish.

This one is my favourite.

The rose stamp was part of the freebie set ( already mentioned above) from Practical Publishing and I knew that I had an embossing folder (Crafts -Too ref CTFD3107) in my stash that would compliment it perfectly. I stamped the rose onto white cardstock and then fussy cut round it finally colouring with my Promarkers and a silver Gel pen. I punched the tag from another piece of scrap paper in pink and in thicker white card gluing both together and used two stips of small offcuts to raise up on the card. Finally the sentiment is a silver sticker from my stash.
Entering this card into the following challenges:
Entering this card into the following challenges:
613 Avenue Create # Anything goes/ optional say it with flowers.
Lil Patch of Crafty Friends #205 Anything goes.
Krafty Chicks #662 Stamp Act 1
Creative Fingers #254 Anything goes.
All Sorts Challenge #727 April showers brings May Flowers.
Crafts Galore Encore #111 Anything goes.
Crafting Happiness #142 Anything goes optional Flowers.
Get Creative Challenges #121 Flower Frenzy.
Mix It Up #65 Anything goes / optional Embossing
The Flower Challenge #80 Pretty Pastels.
The Paper Funday Challenges #53 Anything goes with optional emboss it.
Unicorn Challenge #87 Flowers.
Creations In Pink #57 Anything goes in pink.
❤